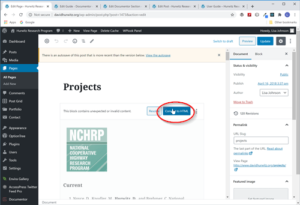
1. Go to Pages under the Dashboard and select Projects. Select Convert to HTML in the upper right of the editing area in order to directly edit the HTML code.

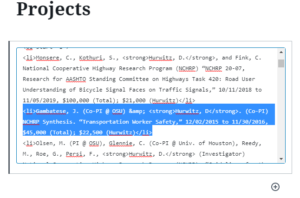
2. If you want to add a project under a current sponsor, you need to find the image that represents the sponsor in the HTML code. Probably the best way to do this is to locate the <hr> html tag. When viewing the Projects page, you’ll notice that each section is separated by a thin horizontal line. This is designated as Horizontal Rule in HTML and denoted by the <hr> tag. You’ll see the <img…> HTML tag after the <HR> and that way you can find the right image you want to insert the new project under. Each Sponsor has two categories of projects under it: Current and Completed. In HTML the lists are designated as Ordered Lists and use the <ol> tag with each list publication designated with the <li> tag. To add a new publication to a current list, copy and paste an existing publication, between and including the <li>…</li> tags and change the text accordingly. The HTML will place a new number in the display list to handle the new addition.

3. Carefully change all the information, making sure to keep all the HTML elements intact.
4. If you need to add a new category of either Current or Completed, then you should copy and paste everything between the <ol>…</ol> tags for the existing category and change the text and publications as you need.
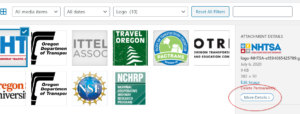
5. If you need to add a new Sponsor, you will need to find their logo and size it appropriately before uploading it to the site under Media. To make a new section under this new sponsor, you will have to copy and paste everything between the <hr> tags of another section and edit the text and image according to the new information. To get the url of the new logo, find the logo in the media section and click on More Details. You can then copy the url in order to replace the old image url.

6. Press Publish to save.